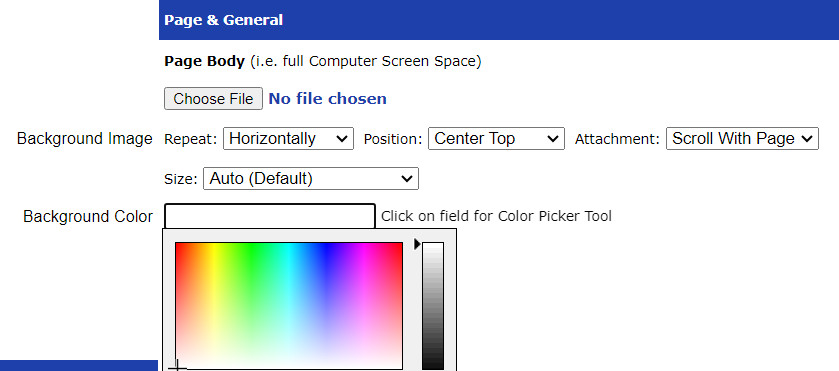
We have just recently released UltimateWB Full 6.91 upgrade to include a member profile banner feature. Much like the member profile picture feature, you can set the default banner picture, minimum dimensions requirements, resizing dimensions, and maximum file upload size. And of course, customize the language phrases for it.
This upgrade also includes the option to display the logged in member’s profile picture and/or banner by copying/pasting Placeholder Text. You can get this Placeholder Text from the the Configure Site > Social Networking, Public Profile section.
We have just recently released the UltimateWB 6.9 upgrade for all versions: UltimateWB Full, Lite, Essentials+, PromoU, and Promo!
This website builder upgrade include a new feature for UltimateWB Full, Lite, Essentials+: the Menu Plus App.
Create additional menus besides the top menu
Organize pages into different menus from the Add/Edit Page
Copy/Paste the Placeholder Text for the Menu Plus to where you want it, and that’s where it will display
Choose styling for Menu Plus: Horizontal Menu or Vertical Menu that is automatically stylized based on your page stylesheet
We have also include menu upgrades for all UltimateWB versions.
And, this UltimateWB 6.9 upgrade also includes a Timeline App upgrade for UltimateWB Full. You can now customize the privacy icons display based on privacy setting for that post – i.e. for public post, private post, members only post, friends only post, custom post, etc. Similar to Facebook posts.
We love to listen to feedback from our social networking website customers and this one is for helping managing spamming by ips. On the List Members page, you can click on the “Show 100 Most Used IP’s” and then use that info to search members by ip, and choose any appropriate action such as delete or ban.
One of the major solutions to help control spam in the registration form is to enable the Question & Answer Captcha that was introduced in UltimateWB 6.1. This addition will help especially to control spamming before the Question & Answer Captcha was integrated.
Due to popular demand of the Mosaic Grid app – otherwise known as the photo collage app – we have added it to UltimateWB Lite as well, in the UltimateWB 6.8 upgrade. Now, photographers, artists, and those wanting to build a portfolio, but not accept any payments online, do not have to upgrade to UltimateWB Full for this fun feature.
You can see the Mosaic Grid app in action on the demo (if link is broken, please contact us and we can do the reset sooner rather than later – it just means that someone is playing around with the demo).
The Mosaic Grid app features include:
Upload photos and create html boxes (no coding required!), and configure and create a mosaic grid, i.e. photo/text collage
Set grid width, height, animation option, choose whether grid elements are draggable, choose a default size for grid elements, choose random sizing, random background colors
Batch Upload option for uploading grid media images
Photos can be linked to enlarged overlay pop-up or to a specified page
All our UltimateWB Cloud website builder plans come with a 30-day free trial! If you don’t like it, just cancel within your trial period to avoid any cloud fees. There are no cloud setup fees.
Domain name registrations are not refundable, but if you have purchased a domain name from UltimateWB, it is registered in your name and you can transfer it to use with another service.
Choose between 3 plans – Starter, Plus, Pro – and 3 website builders = UltimateWB Full, UltimateWB Lite, UltimateWB Essentials+.
Starter
Plus
Pro
Disk Space
250 MB
2 GB (1,000 MB)
4 GB
Incoming Bandwidth/month
Unlimited
Unlimited
Unlimited
Outgoing Bandwidth/month
7500 MB
30 GB
60 GB
Email Accounts
1
10
Unlimited
Maximum Hourly Email by Domain Relayed
60
1000
1000
Maximum percentage of failed or deferred messages a domain may send per hour
Unlimited
Unlimited
Unlimited
Traffic Statistics
Verified Free SSL
Free Software Updates
UltimateWB Full*
$25 / month or $276 yearly
$45 / month or $504 yearly
$70 / month or $804 yearly
UltimateWB Lite*
$15 / month or $156 yearly
$35 / month or $384 yearly
$60 / month or $684 yearly
UltimateWB Essentials+*
$10 / month or $96 yearly
$30 / month or $324 yearly
$55 / month or $624 yearly
*All features are included in the UltimateWB software except for the Backup Database Tool. Accounts are automatically backed up on a schedule. For a custom plan, please contact us.
No website builder software purchase required, not web hosting or software setup – it’s all included. You just login to your website admin panel and design and build your website. Use UltimateWB Cloud with your current domain name, or buy one here if you don’t have one yet.
Having your website menu display to the right of your logo is becoming the go-to design choice more and more, so we decided to add this setup as a header template option. Get this 1-click header logo/menu setup with our newest UltimateWB software upgrade 6.7 – for all versions!
On the Templates generator page, choose between “Run Header with Menu Below” and “Run Header with Menu to Right of Logo”
Here is an example of the website navigation menu below the header:
And here the menu is to the right of the logo:
When to display your navigation menu next to your logo?
If you don’t have many items in your menu, and you don’t have content you want to display next to your logo, the menu works great there. It fits, and it makes great use of the empty space next your logo.
When to display your navigation menu below your header?
On the other hand, if you have lots of pages in your menu, it needs a lot more space and you don’t want it to feel like it’s squished to fit. Putting your menu under the header in that case would make it more user friendly. You don’t want to try to fit all your pages under only a handful of top level links if it doesn’t make sense.
How the menu displays with the responsive website:
The header is responsive in a responsive website, so the menu displays as an expandable button, and the logo and header content centered automatically when the header templates are used.
All UltimateWB website builder software versions come with the 1-click Responsive template, and you can also configure various aspects of the built-in Responsive app via your website admin panel styles manager.
Business – Hobby – Portfolio – E-commerce – Social – and all the features in between are offered in Ultimate Web Builder. You can build any type of website with UltimateWB. Check out the many features, customizations, and options of the most powerful website builder on the Features list page.
We accept website builder feature requests too! Just contact us!
We recently released an update to the integrated WordPress blog (New Year and New Ultimate Web Builder Software Upgrade 6.4) to make it easier to to not show blog dates and authors for posts in all or certain categories. No third-party plugin install required!
Step 1) Switch your WordPress theme: Activate the “uwb2” theme.
Login to your WordPress admin panel, and navigate to Appearance > Themes.
The available WordPress themes are displayed. Select the “uwb2” theme. If you do not find it here, it means that you have not uploaded the new theme to your blogs folder. After downloading the new UltimateWB Full upgrade files, it will be under the “blog_sample” folder > wp-content > themes > uwb2.
And mouse over the uwb2 theme to click on the “Activate” button:
You will get a confirmation message when activated:
Step 2) File editing if you need further customization…
If you want to not show the post date / author for all posts outside of the “Announcements” category, you’re done! If you want to customize this further, read on for the instructions…
Login to your web hosting account (cPanel if you’re hosting with UltimateWB). Double-click on the File Manager icon to open it, and navigate to your blog folder / wp-content / themes / uwb2.
Three WordPress files are involved in the display of the post dates and authors:
You can find the section in each of these page where the clause has been added to omit the date/author of the post if it’s in the Announcements category by searching (CTRL-f) for the following term:
if (in_category(‘Announcements’
What this phrase means is that if the post is in the Announcements category, continue with the rest of this code block. So, if you would like to add more categories that would make the statement true, you can add them in this clause, i.e.:
if (in_category(‘Announcements’,’Category 2′,’Category 3′
The final coding for this section woul look something like:
if (in_category(‘Announcements’,’Category 2′,’Category 3′))
vs
if (in_category(‘Announcements’))
There are 2 instances of this on the loop.php file, and one instance in the loop-single.php file, and the loop-attachment.php file.